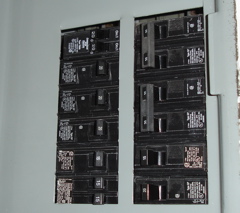
I started by shutting off the circuit breaker |
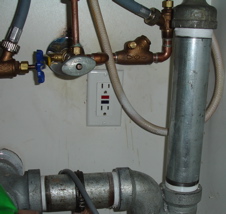
But I also pulled the plug. Can't be TOO safe. |
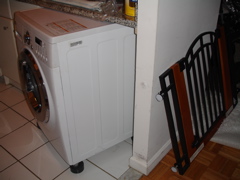
It was actually fairly easy to pull the macine out from under the counter. A clean floor makes it easier to slide- even with the heavy duty vibration cushions I have on the feet. I also had to move the child gate I have for the kitchen. |
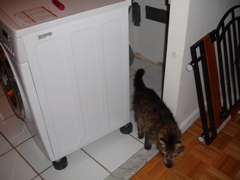
Oh, there was a cat behind the unit... just kidding. |
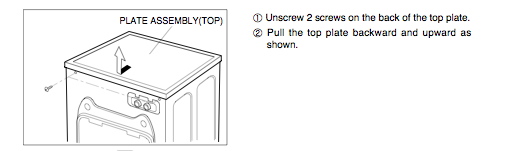
From the service manual. The lid comes off really easily, but the diagram could be better. |
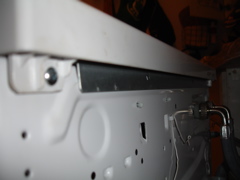
Left screw (if you are standing behind the unit) |
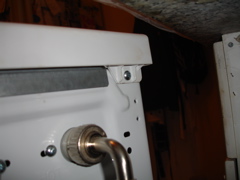
Right screw (again, if you are standing behind the unit) |
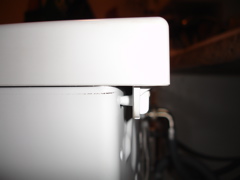
There is a plastic pin sticking out the back on either side holding the lid on. This is why you slide the lid "backwards", towards the back of the unit. Both plastic pins release. Then it really just pops off. |
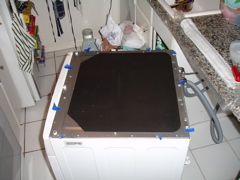
No diagram in the manual for this. There are nine screws holding on the inner cover. Marked here with blue tape. This too lifts off easily. |
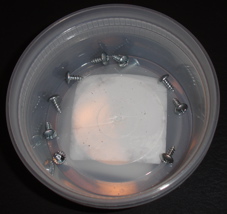
Here are the nine screws from the inner lid. |
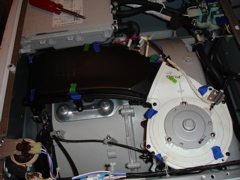
There are 9 screws holding the "dry duct upper and dry fan assembly" down, attaching it to the other parts of the machine. Three of these are shorter screws, marked with green tape. Note that the blue and green tape show the approximate location of the screw points, but they are the ones BELOW the assembly, about 2-3 inches below where the tape is. |
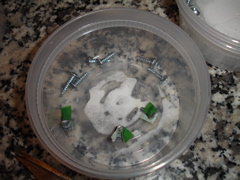
Here are the screws that hold the Dry Duck Upper and Dry Fan Assembly down, with the 3 short screws tagged with green tape. |
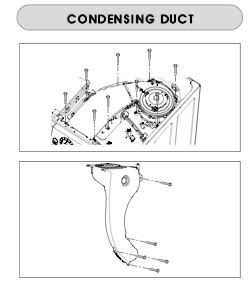
From the service manual, you see the Dry Duct Upper and Dry Fan Assembly, and the nine screws that connect it to the machine- but no notice of the different screw lengths. The second diagram is of the condensing duct itself. It's nice to note the shape of the duct, because all you will see with the lid open and the Dry Duct upper and Dry fan Assembly removed is the very top of the Condensing duct. |
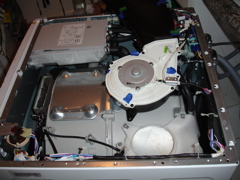
Leaving the cables attached to the Dry Duct upper and Dry Fan Assembly, I just moved it aside to reveal the round mouth of the Condensing Duct. It appears here as a large white circle, the tail snakes its way down the left rear corner of the machine (the right bottom corner of the photo), wrapped somewhat around the tub. |
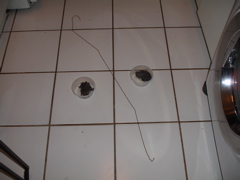
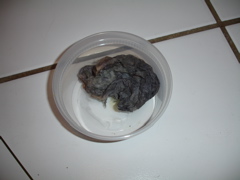
Using a wire hanger with a small hook fashioned at the end, on my very first try I pulled out a big wet clump of lint. I developed a technique to get more out, fishing the wire hanger down to where it met something soft, then rotating like spinning speghetti around a fork before I pulled it back up- and got the second big fat clump. I fished around a bit more, but didn't feel anything soft. That's really the whole deal. The hardest part is not dropping a screw while you are unscrewing or screwing. I can't imagine what happens if the screw gets loose in the machine. I was very very careful and very very worried. But really, this is a simple thing to do. The service manual was $18.00 from manualuniverse.com Happy Laundering! |
|

|